Introducing the Minipresso portable Espresso maker
Categories:
The Minipresso portable Espresso maker is an essential new coffee maker for the modern coffee lover. Coffee plays a huge role in our daily lives including an enormous online presence over social media plus numerous festivals and national days named in its honour. Making fresh homemade coffee to replicate that perfect coffee shop made brew including superior froth has now become easier at home. But what about on the go? If you are fond of a fresh Espresso this can be difficult to achieve. 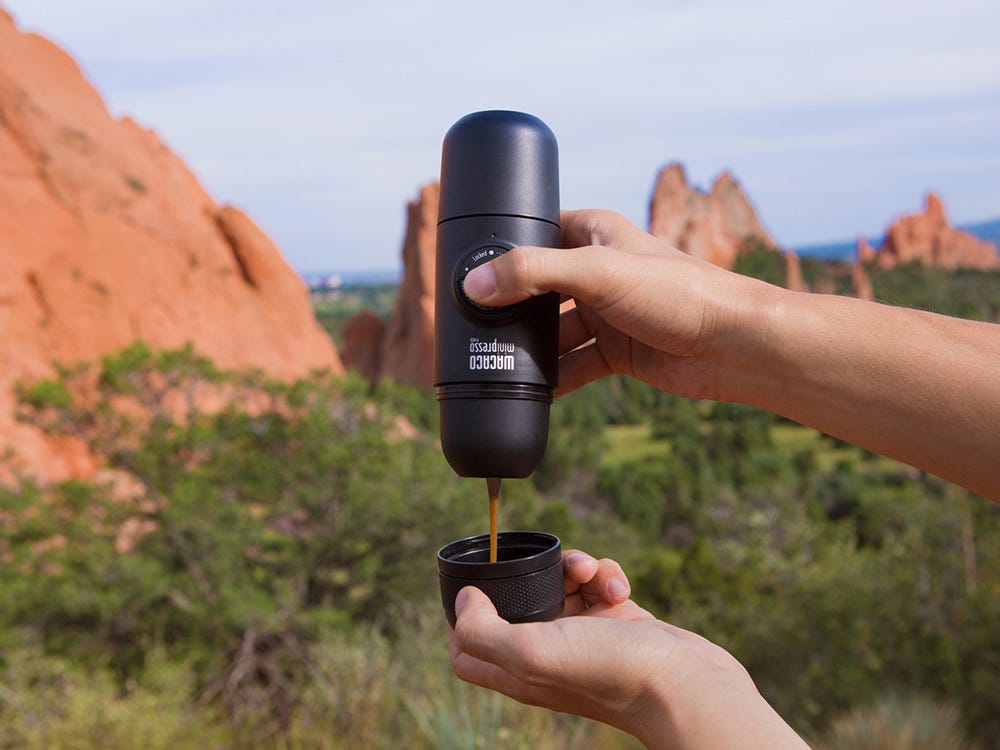 The Minipresso portable Espresso maker by Wacaco is innovative and convenient. Use a choice of ground coffee or Nespresso coffee capsules for a convenient coffee break anyplace or time. Ideal for camping, hiking and picnics or simply days out, the Minipresso is your perfect companion. The sleek and smooth design makes it cool to carry and easy to store in a backpack or bag and doesn't take up any bulky spaces or get caught up on other items. Weighing in at around 360g the Minipresso has an overall length of 175mm and creates 116 psi / 8 bars of pressure when in use. The water tank holds 70ml of hot water and produces a 40-45ml shot of Espresso. The Minipresso is clean and safe to use and is also BPA free. All you need to go with your Minipresso portable Espresso maker is boiling water and coffee.
How do you use it?
Both the GR ground coffee and the NS capsule Minipresso version have similar structures and operate in the same way to create a single shot of delicious Espresso.
Minipresso GR
- Remove the lid
 from the Minipresso and place down on the work area.
 - Unscrew the outlet head, inside will be a filter basket for the ground coffee. Inside the water tank there is a scoop for measuring out your coffee. Fill the scoop, place the filter basket over the top and invert upside down. Use the back of the scoop to lightly tamp the coffee into the filter basket.
- Put the filter basket back into the outlet head. Put the outlet head back on and tighten.
- Unscrew the water tank from the body and fill up to the line (to prevent scolding do not fill over this line). Attach the body of the Minipresso on top of the filled water tank and tighten.
- Release the piston by applying pressure and turning the button on the front of the body as indicated.
- Pump the piston a couple of times to prime the pressure, pause and then pump once per second to dispense coffee from the outlet head.
Minipresso NS
- Remove the lid from the Minipresso and place down on the work area.
- Unscrew the outlet head, inside there will be a holder for the coffee capsule.
- Place the capsule bottom down. Put the outlet head back on and tighten to pierce the coffee capsule.
- Remove the water tank and fill up to the line (to prevent scolding do not fill over this line). Reattach the body on top of the filled water tank and tighten.
- Release the piston by applying pressure and turning the button on the front of the body as indicated.
- Pump the piston a couple of times to prime the pressure, pause and then pump once per second to dispense coffee from the outlet head.
Tips for use
The Minipresso is best used when warmed first, especially if you are camping out or hiking in a cold climate. So before use and if you are able to do so pump through a measure of boiling water without the coffee. This will ensure the coffee you produce on the next run through will stay hotter for longer. The Minipresso can be used with just hot water, but to produce the 8 bars of pressure and a smooth crema boiling water is required to react with the fresh coffee.
Iced Coffee
If you are a fan of iced coffee, the Minipresso can also be used for this. Fill the water tank with ice cold water and use in the normal way. Pour the coffee over ice for a refreshing drink. For many other recipes and tips on using your Minipresso visit www.wacaco.com